

A step-by-step guide on how to create abstract art from rocks (Part B) - No Drawing Skills Required.
For many years, I created artworks without any reference or base subject matter, simply responding to the artwork one paint stroke at a time. This approach relied on letting the painting show me a way forward until it felt resolved or complete. However, more often now, I find myself using the natural world as a source of inspiration for my art. It's very refreshing and has taken some of the stress out of painting in a more non-objective way.
ROCK YOUR WORLD
You'd be surprised at how much you can do with simple rock designs and other gems found in nature. Art is all around us – you just need to have the right attitude to see it. There are so many different possibilities. I've been experimenting with rock compositions for a while now, and they have resulted in some of my most beautiful abstract art pieces, so this exercise is well worth a try.
I know that creating abstract art can be a little confusing and intimidating at times, so this is why I put together my first demonstration on 'How to use rocks to create eye-catching black & white abstract compositions' a little while ago. These designs will in turn provide you with 'rock solid' foundations for creating larger abstract artworks, so make sure you read this blog if you want some extra tips and tricks for creating abstracts.
WORKING EXAMPLE
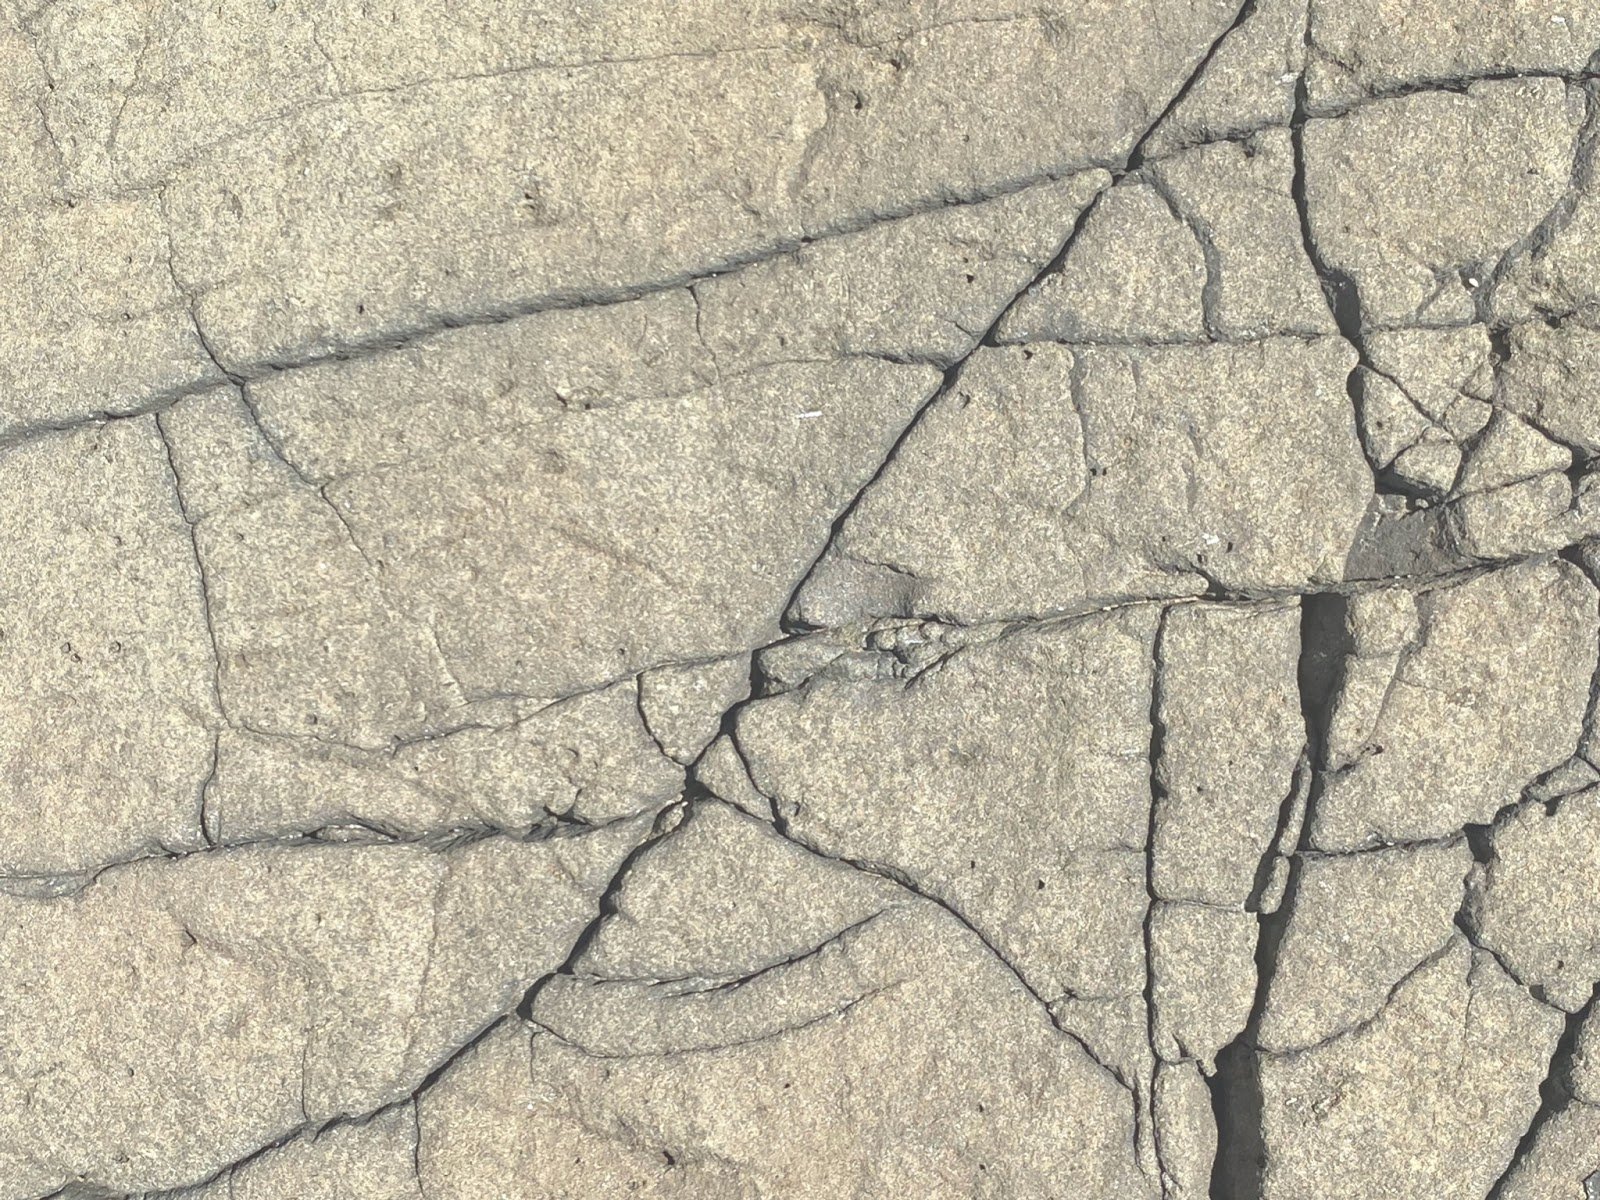
Below is a rock design that caught my eye whilst walking around Kiama harbour recently. I have sketched the basic shapes from this design using a clever program called Procreate on my Ipad, but a pencil and or makers and sketch pad would suffice.
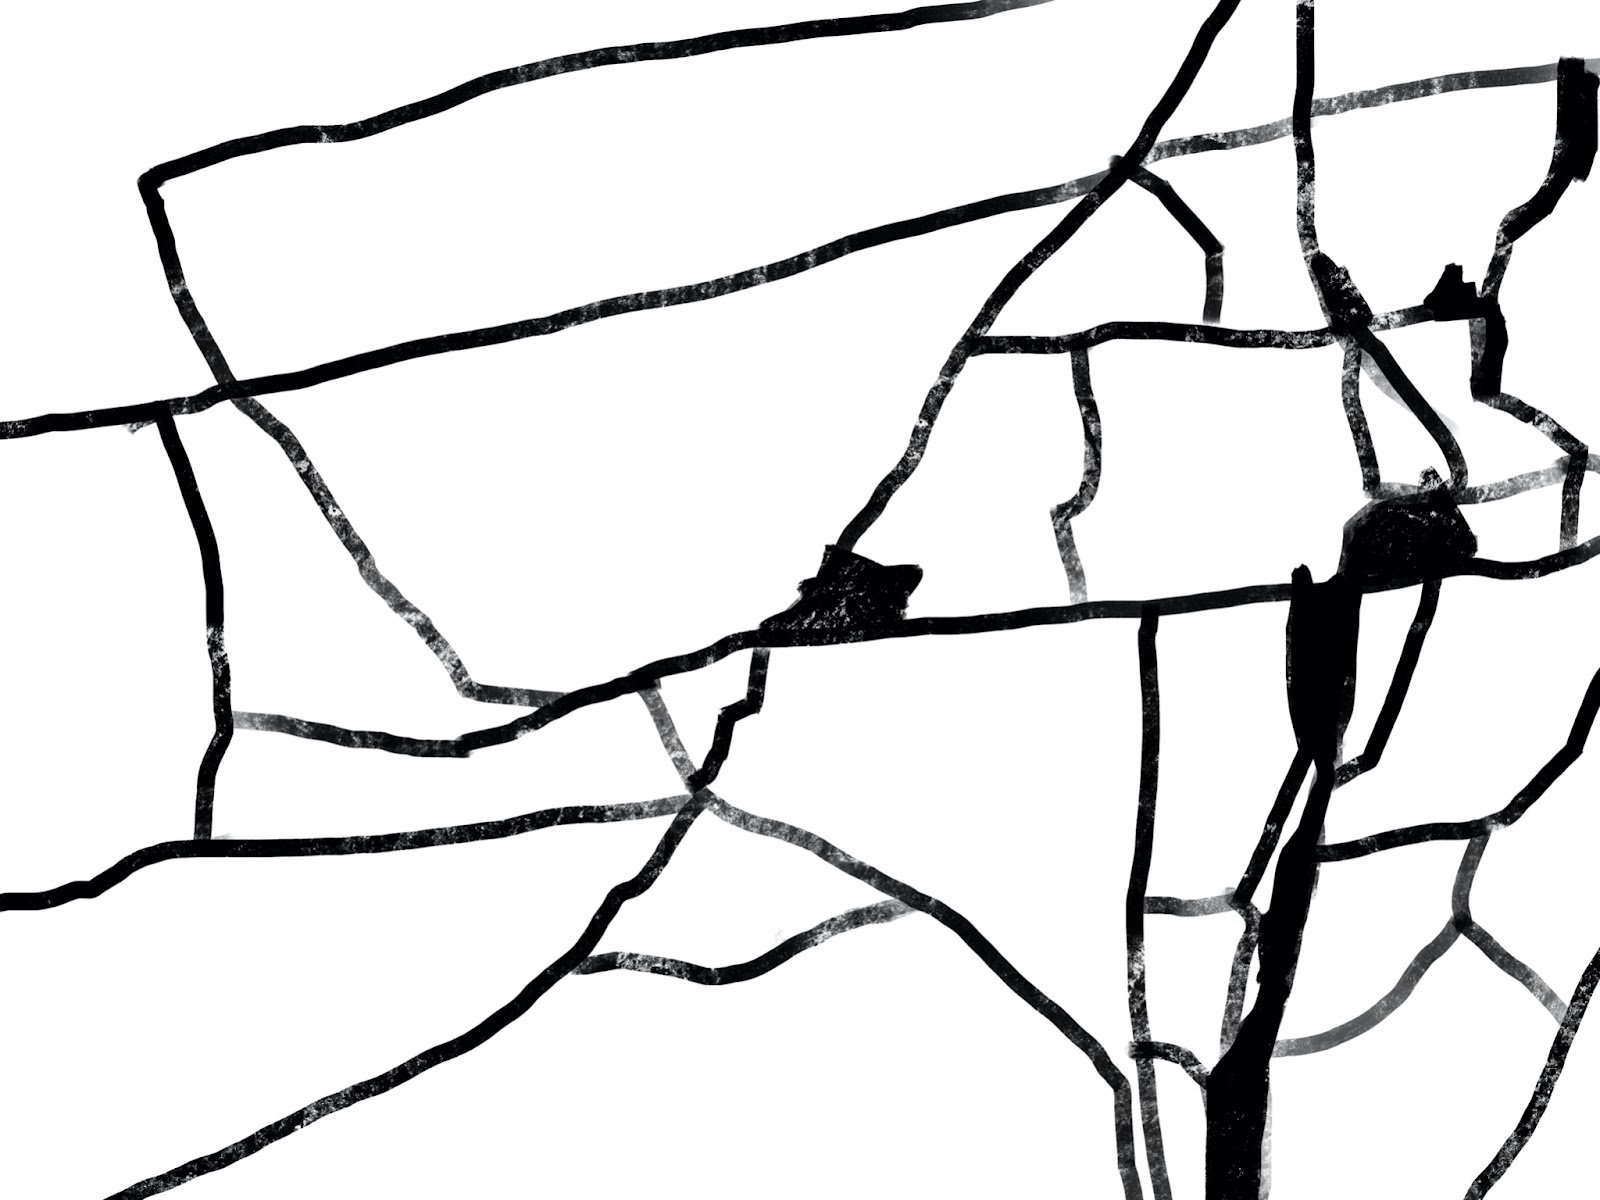
Once roughly sketched from the original photo, I then start to play around my placement of lights, mid tones and darks. I pause when I feel the design has found a sense of balance, then continue to break up the space a little more, as seen below.
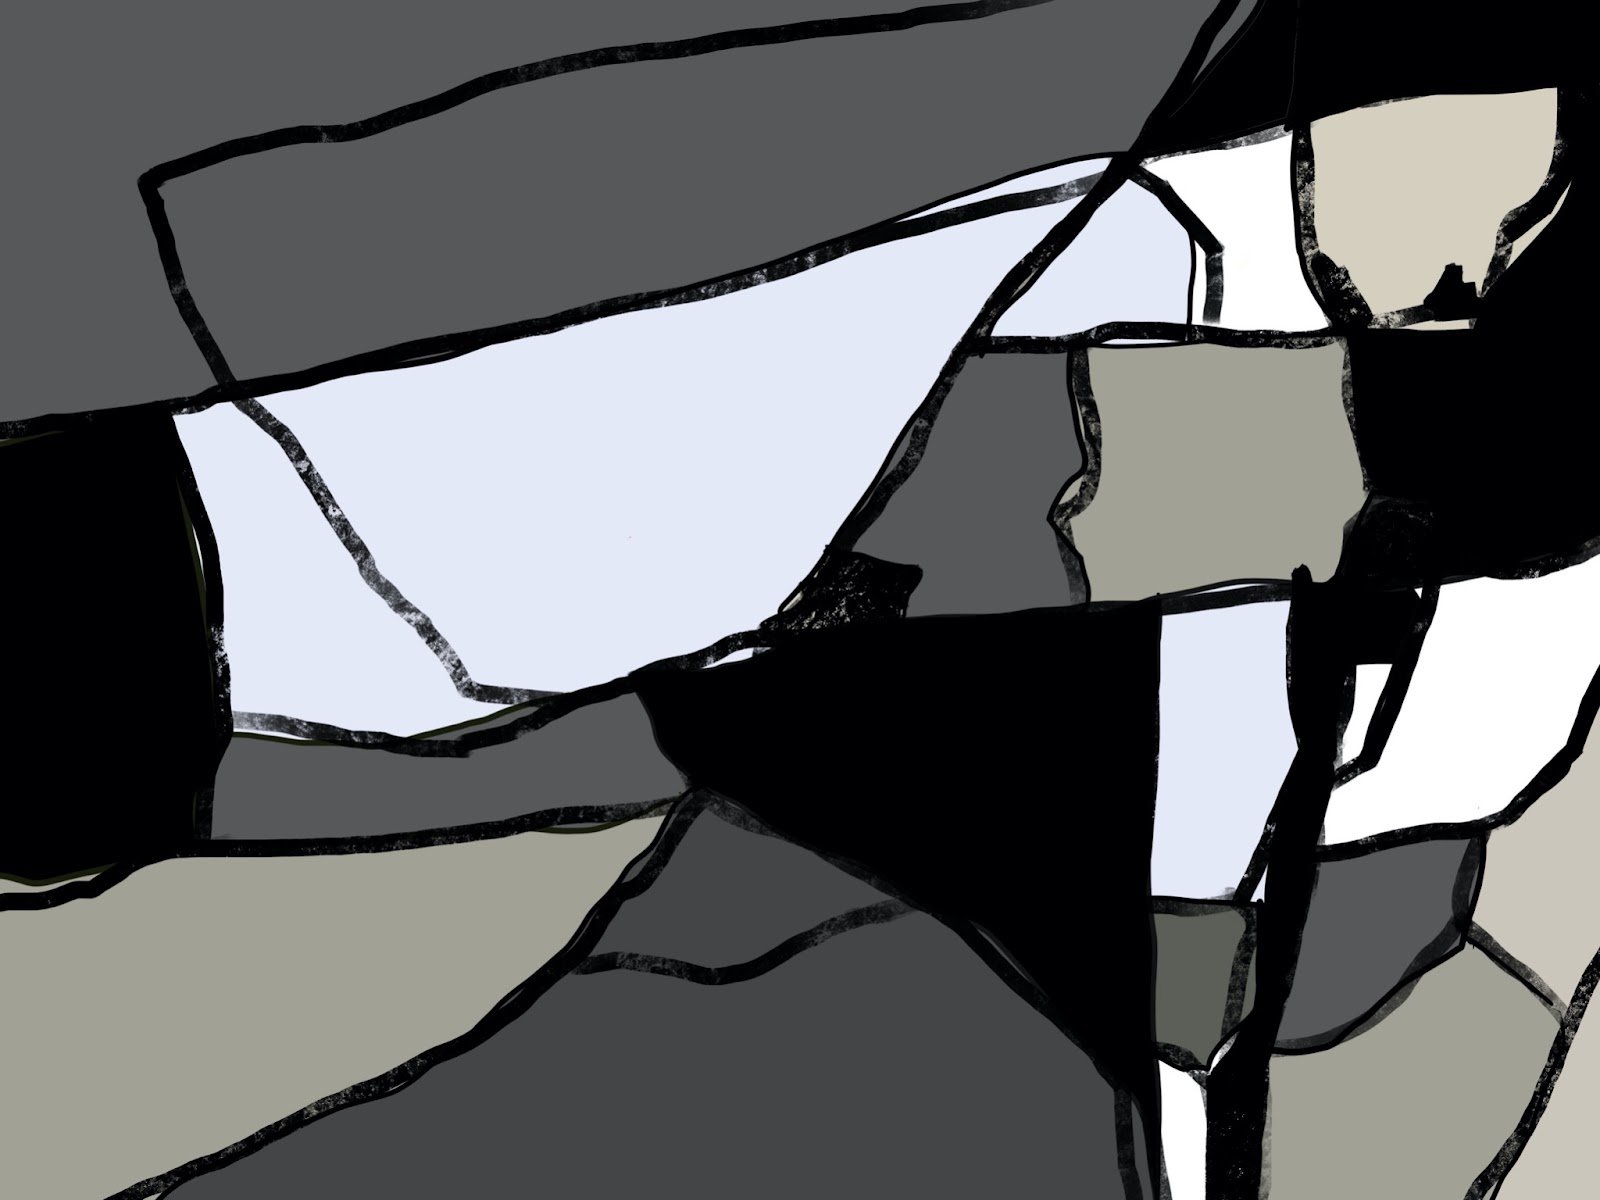

From this point, I transfer my design directly onto my small canvas with a pencil. It really doesn't need to be sketched out perfectly, as it's only a tonal 'mud map' or design foundation at this stage. TIP: Keep things simple with your design until you get the hang of this process, so nothing ultra-complex at this stage. Complexity comes later as you resolve your artwork.

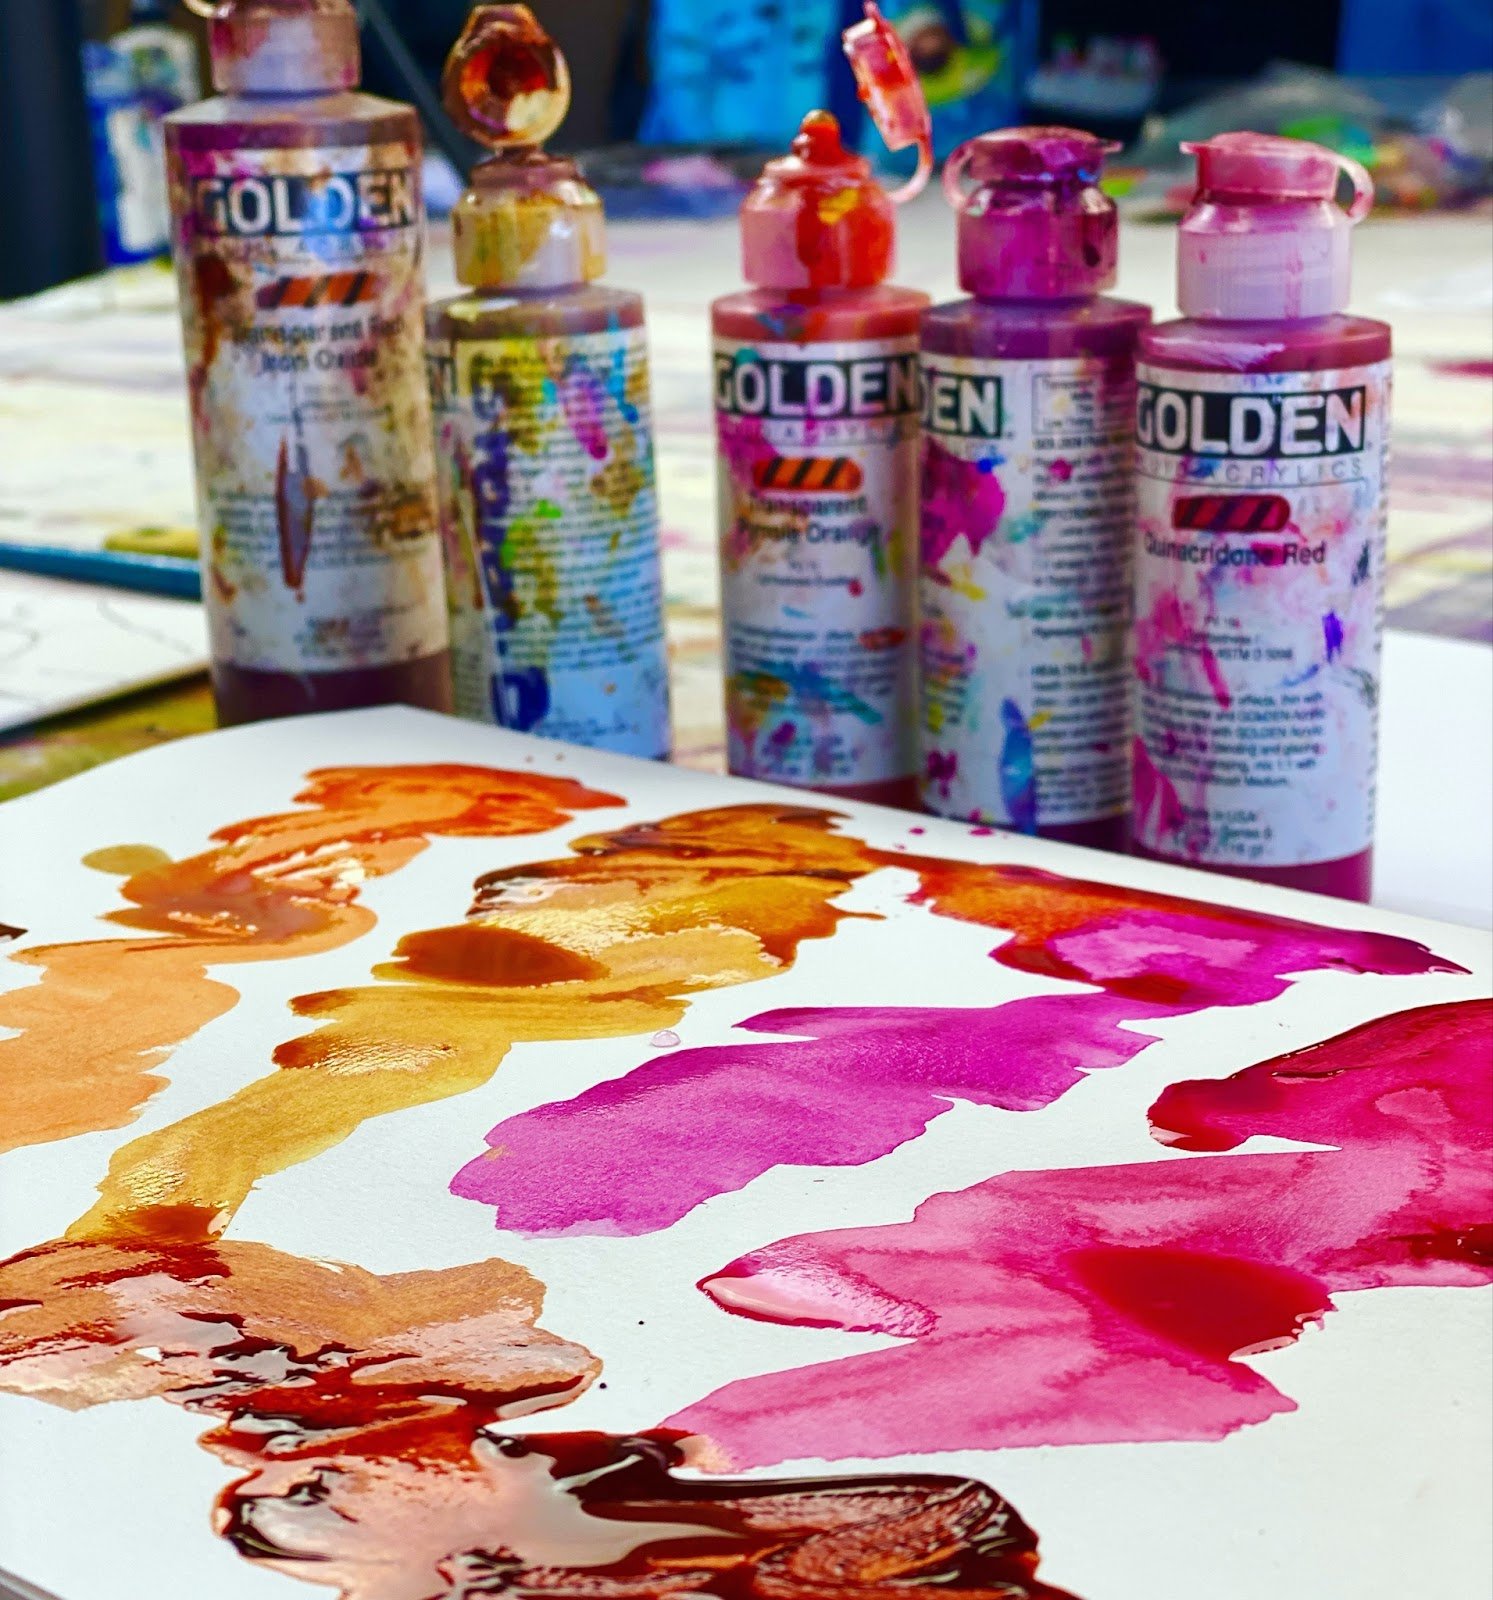
Now for some colour... As you can see I went for an analogous colour pallet; colours that sit next to each other on the colour wheel, plus a little black and white.
I then add a little black to my canvas. This black will read as the darkest of all of my tones. TIP: When using black, I always either add a red or blue colour to the mix or glaze over the top (such as Magenta), as I find black out of the tube is quite dull and dead looking.

I love colour. It's the thing I enjoy most about creating art! And yes, a working knowledge of colour and mixing paint is important, but so is an understanding of tonal variation and contrast as a tool to capture the viewer's attention. It can be difficult to assess tonal variation when looking at a painting as our eye tends to get confused with all of the colour information. If you take your artwork and make all components black & white (with your iPhone or Photoshop or by looking at it with a film of mid-tone red), then you can see how well balanced your lights, mid tones and darks are as they sit together - without having any interference from other hues messing things up!
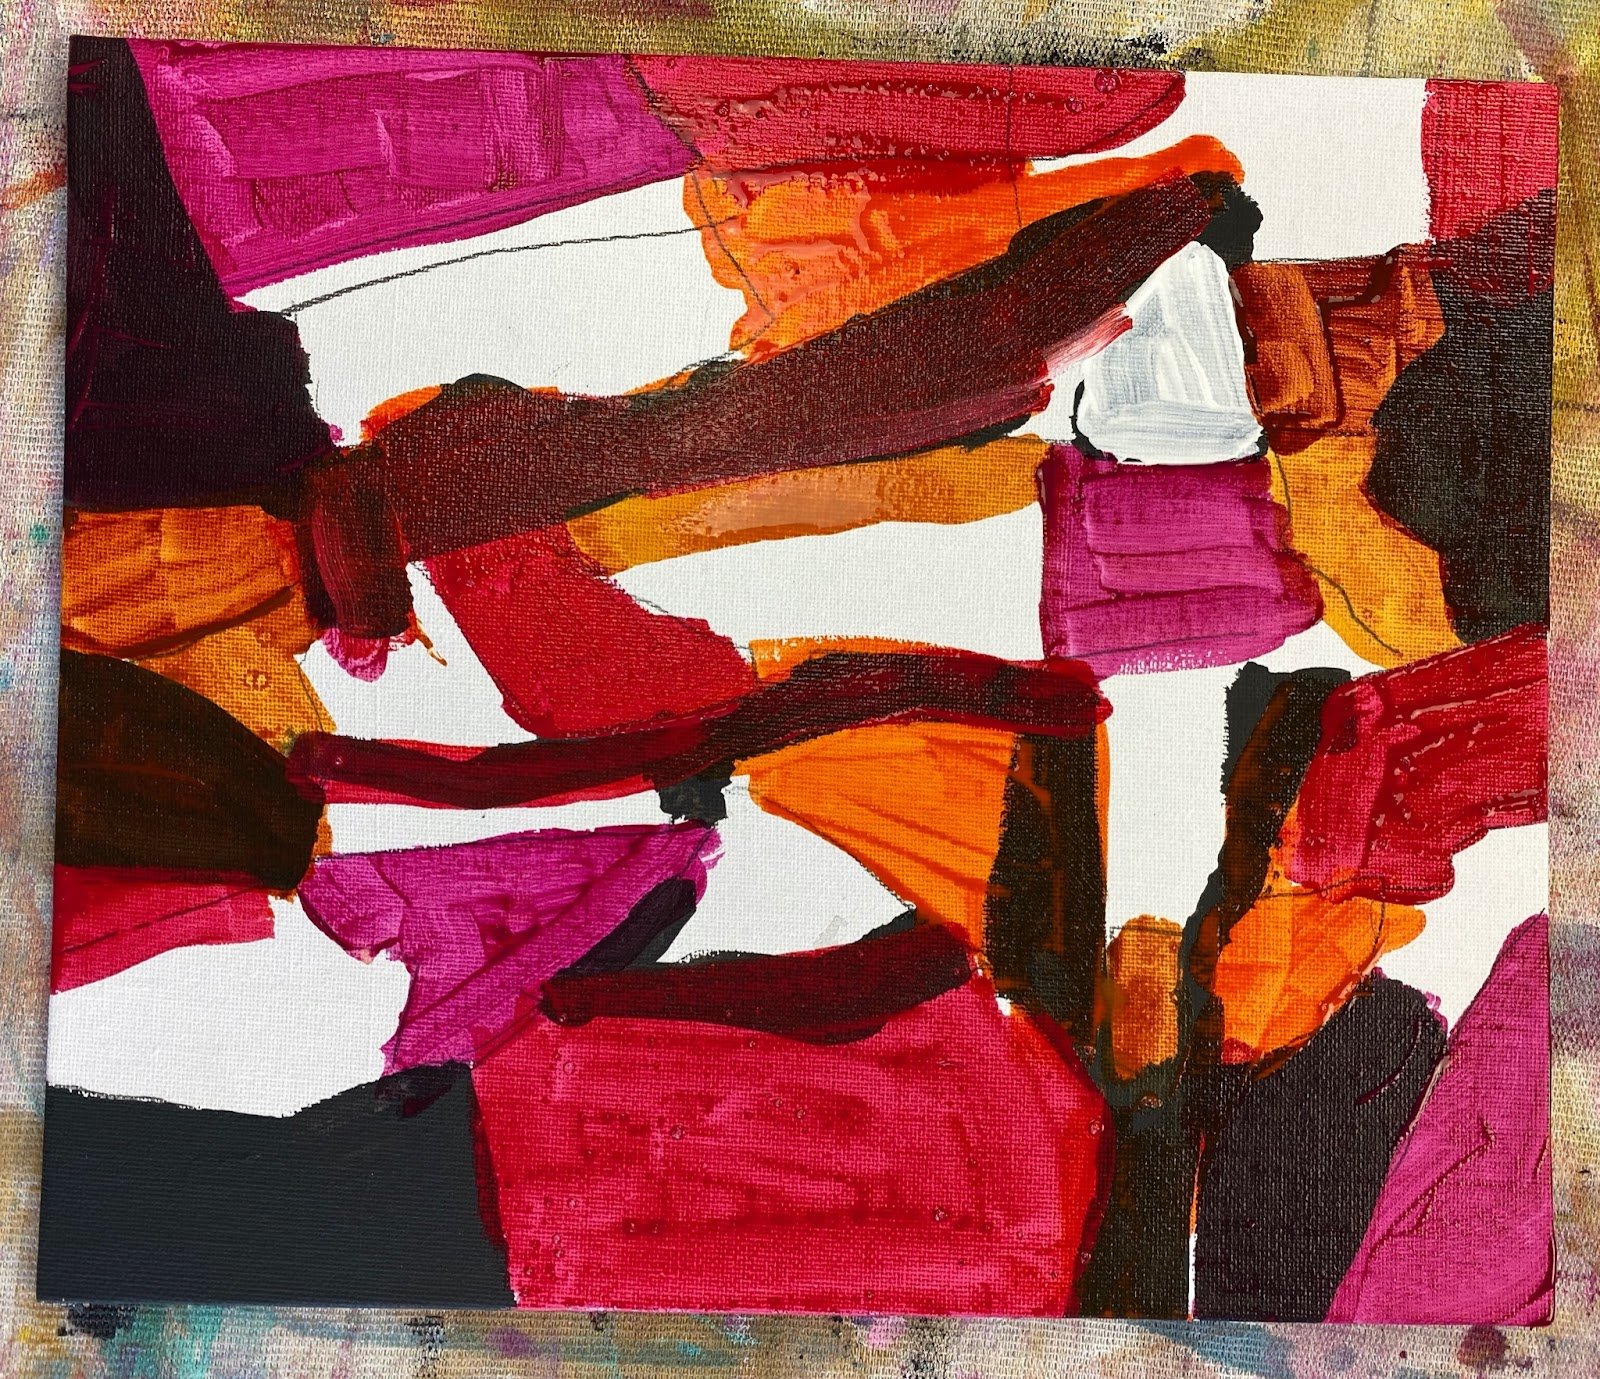

I continue with some 'greyed down' or pastel-like colours (I call these gorgeous greys) and start adding my collage pieces. The trick is to have both saturated colours (the extroverted colors) and the gorgeous greys (their quieter cousins) sitting together. These quieter, more tranquil colours can really make a piece come alive when used properly.

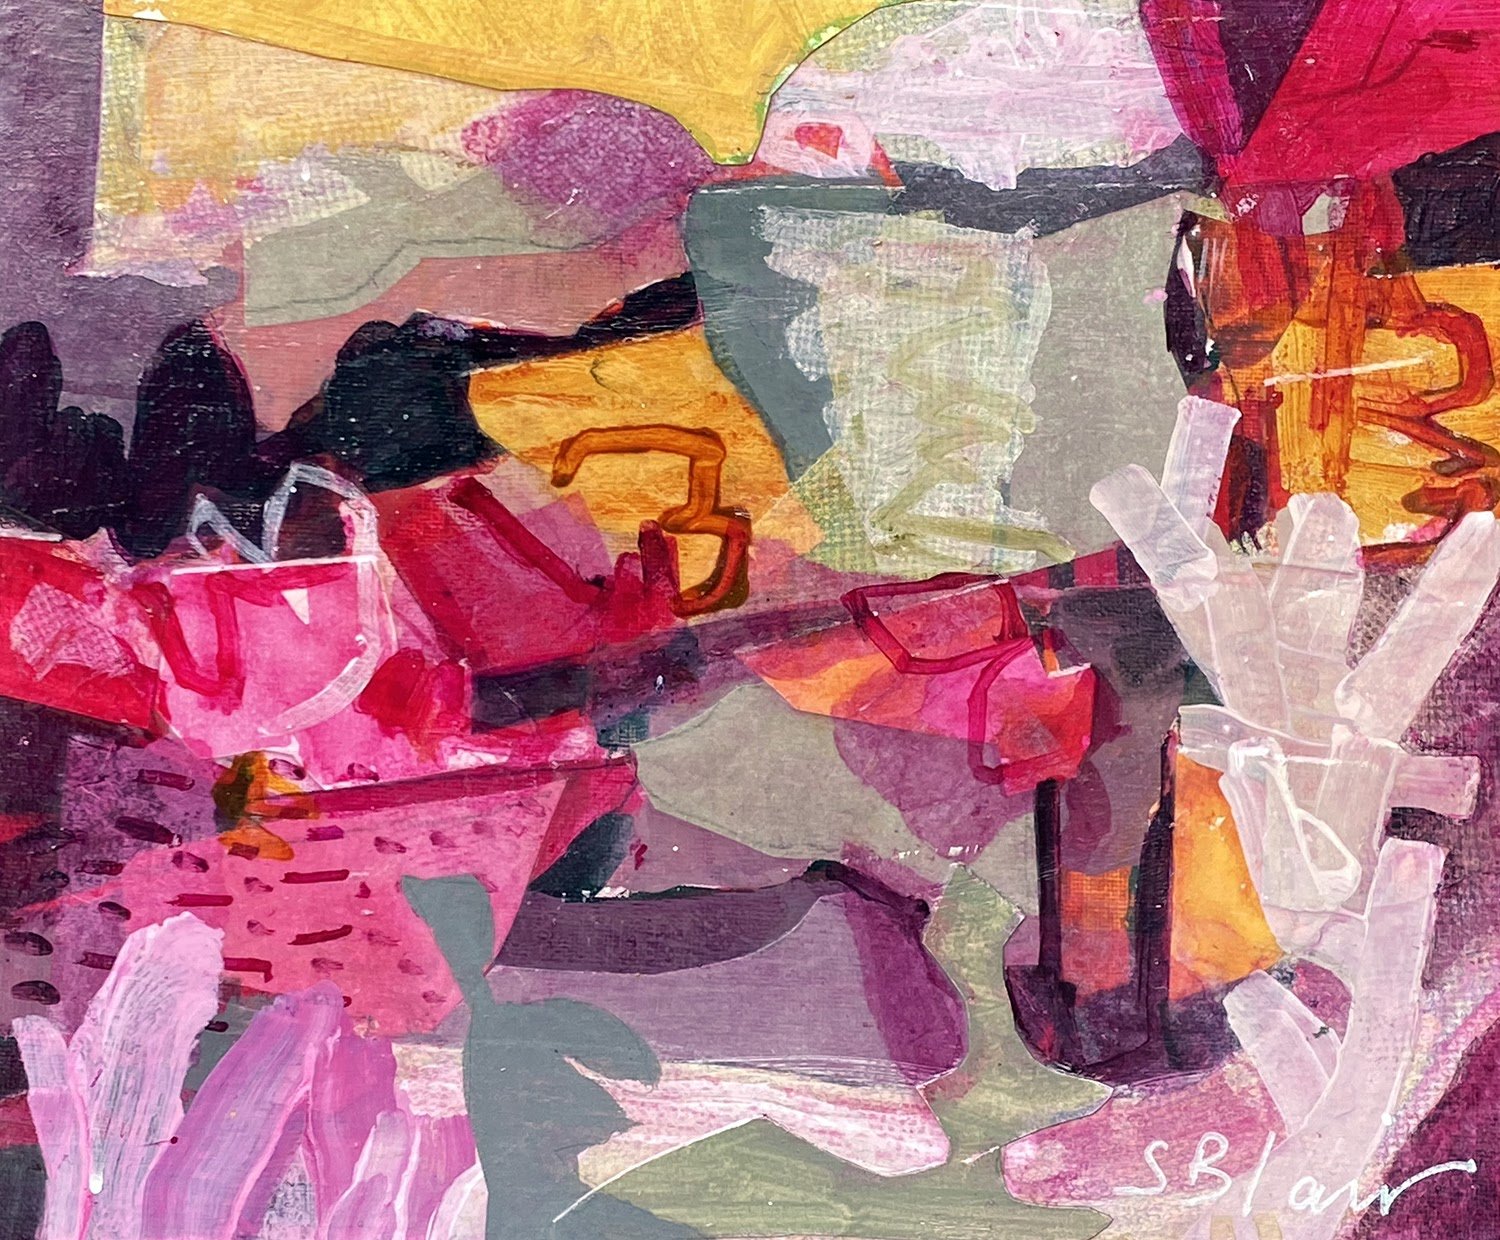

And here we have arrived at the finished artwork – and just to think, it all started with some lines on a rock!
The creative process starts with a simple idea and evolves into something much more abstract and complex as you dance with your painting and let your ideas evolve. Have fun trying this yourself by starting off in black and white, then taking it from there. Watch as your imagination takes flight. You never know when that big creative wave can come flooding in, so keep exploring with exercises like this one until something unexpected and magical happens.
Imagine how many different pieces there are waiting in nature for us to explore!
Until next time,
Sharon xxx